In my previous post, I said I would write a tutorial on how to heat-straighten various types of plastic materials for use in costuming. When I decided to use plastic tubing to make a covered hoop, I had a problem:

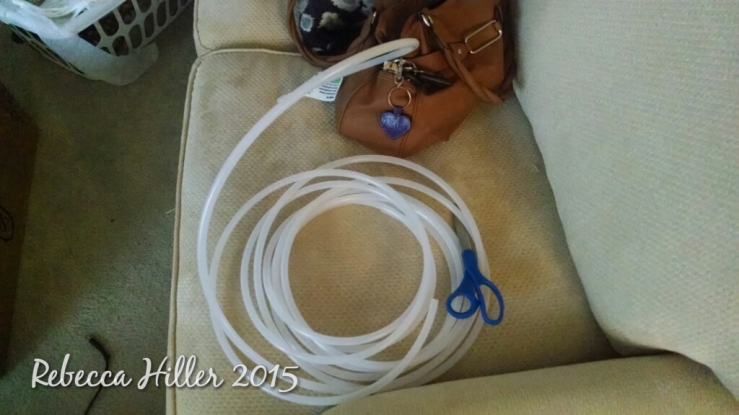
The tubing I bought would not straighten out enough to put in the channels! So I did some research, and found out that others had this problem when they used the tubing for plumbing or aquariums. I saw various recommendations, but settled on one I could do: heating the tubing and then shaping it how I wanted. So without further ado, here’s how I made my covered hoop.
1. Draft your hoop pattern (skip if you are using a commercial pattern)
For this part, I used two great tutorials written by Chrissy at The Laced Angel here and here. Once your pattern is decided, you can purchase your materials. I used two rolls of tubing and 3-4 yards of cotton muslin.
2. Sew the fabric part of your covered hoop
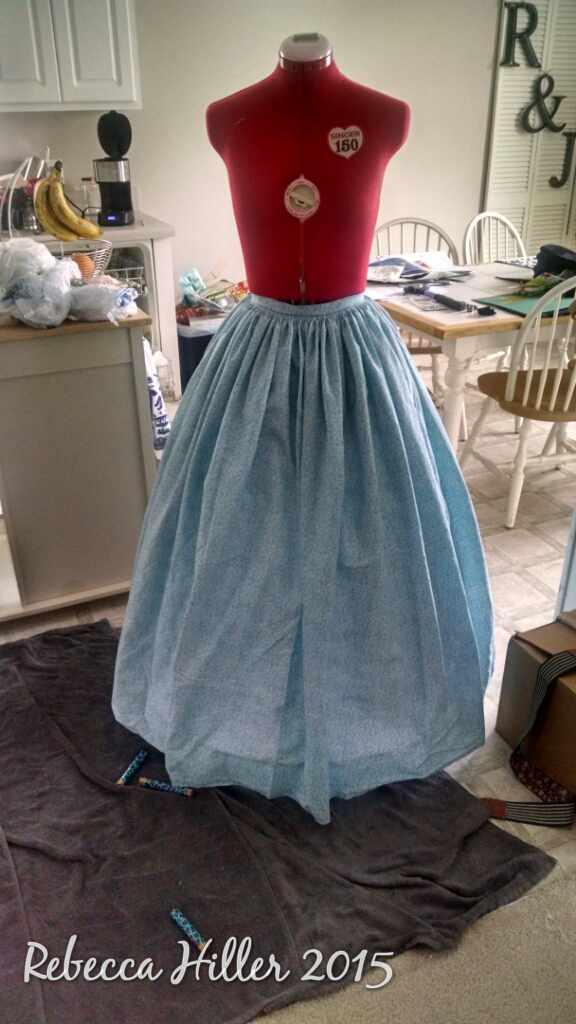
I decided to have my tubing placed in tucks on the inside of the hoop, so that the bones of the hoop would not show through my petticoats. Since I planned a 5-bone hoop, I sewed 5 tucks into my fabric skirt portion. I made sure to leave an opening (in my case, center front) to use later to put in the hoops.
I then pleated and pinned the waist of the soon-to-be hoopskirt onto my dressform to await the tubing.
3. Prepare the tubing
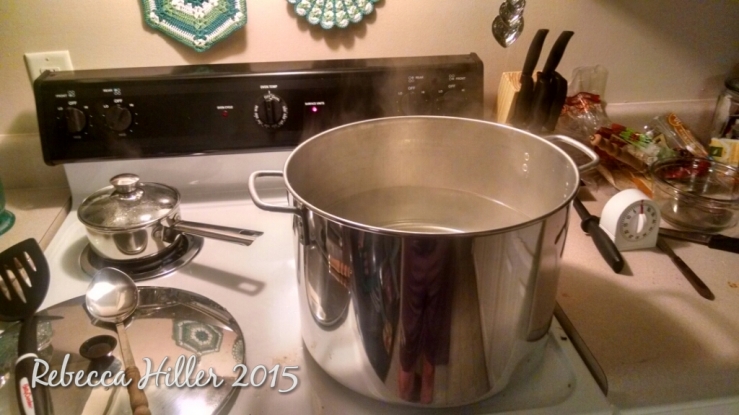
I measured and cut the tubing into the lengths I had planned out for each level, and got ready to heat them. First I heated a large pot of water to boiling.

Then I took each hoop one by one and briefly submerged it in the boiling water. I removed it (with tongs and potholders!) and arranged it as shown on towels I laid in the floor. To keep the shape I wanted, I tucked each end into a cardboard tube I made slightly larger than the plastic tubing.

(Disregard the extra piece, it is leftover from the end of the roll.) To keep the hoops flat while they cooled, I set some books on them.

(Of course I had to protect my costuming books with towels!) Finally, I left them overnight to dry.
4. Insert hoops into channels
Now that the hoops were ready and cooled, I put them in the channels one by one, starting with the bottom.

To close off the hoop, I took a small piece of tubing and cut it in half down the middle (so it made a little halfpipe sort of shape). I then boiled it using the same process I did for the other tubes, and while it was still hot, bent it in half and wedged it into each end of the circles to make the join sturdy. If I fastened them with duct tape or something similar, it would always leave a weak point, and overlapping the hoops would not work well because they are round and would add extra bulk. The method I used has worked fantastically so far. It should be mentioned that you have to join the hoops after they are put into the channels.
If you are making a hoop like Chrissy’s in the tutorial I linked above, each hoop is inserted and closed in the same way. I wanted my hoop to have a mid-1860’s style with a flatter front and more back thrust, so I made the top two hoops go 3/4 of the way around, leaving the front open, and sewed them in place by poking a hole in the tubing with a large tapestry needle and securing it with several stitches. (For some reason I didn’t take pictures of this step, or of the finished hoop by itself. I will get detail pictures of it and add those in later.
5. Finish the waistband
Chrissy’s hoop has a drawstring waistband, which is definitely a valid option, but I decided to practice my gauging technique and sew my hoopskirt and petticoat waistband at the same time.

The gathers are whipped onto the waistband, which closes in front with a button.

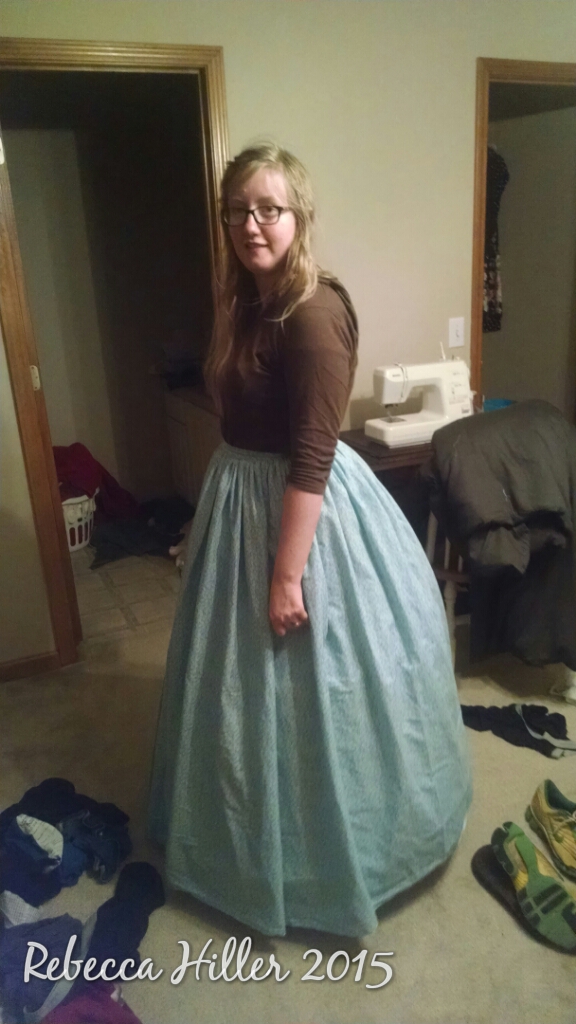
In this photo, you can see how the hoop has a noticeable back thrust and flat front. Considering that this is a make-do hoopskirt for a time period that I very rarely get to go to events for, I think that this attempt was a success!
I will very soon be using the heat-straightening technique on some trimmer line to use in a new set of stays, as mentioned in my last post. I will be sure to take lots of pictures so that anyone interested in using this technique will be able to figure out how, and it will get its own post eventually.
Can you think of anything else this tubing might be useful for in the costuming world? Comment below and share your ideas!
Rebecca


