Heritage Days 2016

It’s been awhile since I’ve posted anything, but I’ve been hard at work on different projects, especially ones leading up to this event.  Historic Mansker’s Station near Nashville, TN, is the site where I first started reenacting and it’s always held a special place in my heart.  Every year in early April they have a historical event focusing on historical trades, which I have attended for the last 3 years representing 18th century mantuamaking.

FB_IMG_1461202083257_wm

FB_IMG_1461202104227_wm

I had several examples of late 18th century style handsewn gowns and accessories on display.  Many of the attendees of this event (especially on the first day, which is primarily for school groups) are young children, and it was really fun to engage them in age- appropriate discussion about the intricacies of 18th century fashion.  There were several adults who stayed in our tent for quite some time, and we had very enjoyable and hopefully informative conversations about lots of commonly misunderstood things about historical fashion.

Also, for the first time ever, I got to do an 18th century hair demonstration on my very patient friend Rachel.  I used Heirloom Haircare’s pomade and powder, and various techniques I learned from the amazing book 18th Century Hair and Wig Styling by Kendra Van Cleave.

FB_IMG_1461202092848_wm

FB_IMG_1461202089000_wm

FB_IMG_1461202098983_wm

I kept my historical hairdressing tools out, and used them to explain 18th century hair care to visitors who didn’t get to see the hair demonstration.  It was a really fun event (especially the second day when it wasn’t so cold), and I am looking forward to next year’s where I am planning on a dress-in-a-day demonstration.

Rebecca

(All photos in this post were provided by my sister Hannah who wore an jacket I made for her that is based on Claire’s jackets from Outlander.  I will do a post on that soon!)

Historical Sew Monthly September Challenge: Brown

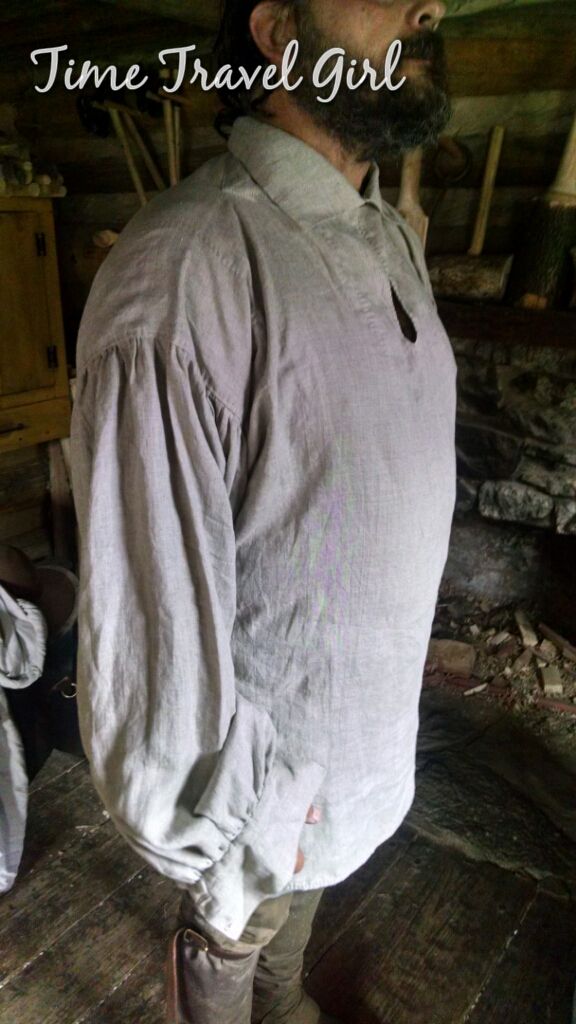
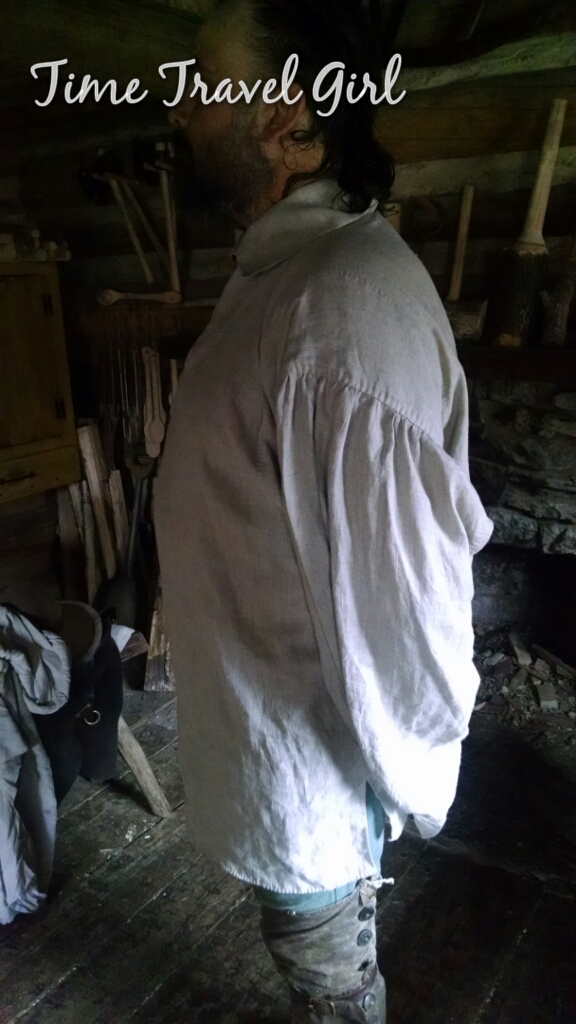
This is my first HSF/M challenge ever!  Even though it’s not September anymore, this garment was completed in September, and I wanted to practice the HSF format.  This shirt was sewn as a commission for the man I sew for, who works full-time at a museum.

image

This is the first of about 6 or more shirts I am sewing for him, as he wears 18th century more or less full time.  The shirt features machine sewing on all major inside seams, but all finishing (flat felling, hemming, buttonholes, etc.) are all handsewn.

image

I added rectangular shoulder reinforcements, and triangular gussets at both the hip and neckline, which help make the shirt fit better and wear more durably.  I know that if my handsewing can stand the wear that this shirt will get, I should never have a problem with any of my clothes, as they have to endure considerably less wear.

image

The sleeves are very full and considerably long, almost folding over near the wrist.  I may need to change that in future shirts, as they run the risk of getting caught and tearing or generally impeding movement.

image

I wanted to try out marking the shirt with cross stitch, as it would help differentiate the shirts I make from the other ones he owns.  I sketched out my own gridded pattern for this, and put a “1” to signify which shirt this is.  Since in future shirts I will vary some elements for a better fit, numbering them makes it easier to tell them apart.

Here’s the quick and dirty info:

The Challenge: Brown

Fabric: Lightweight Unbleached Linen

Pattern: my own pattern, drafted from measurements

Year: approximately 1750-1820

Notions: linen thread, 5 bone buttons

How historically accurate is it? 80%, more or less.  The machine stitching would have been handstitched in the 18th century, but aside from that, as far as anyone can see, it is historically accurate.  I’m practicing stroked gathers for the next one, so it should be even better!

Hours to complete: A lot, I didn’t keep track.  I would estimate at least 40 hours, but probably more.

First worn: Worn for photos upon delivery and to ensure fit.  I think he has worn it to a reenactment since then.

Total cost: Since it was a commission and he provided the fabric, I don’t know.  This linen runs about 10 dollars a yard, so probably about $20 for fabric alone exclusive of labor.

Bonnet 2.0

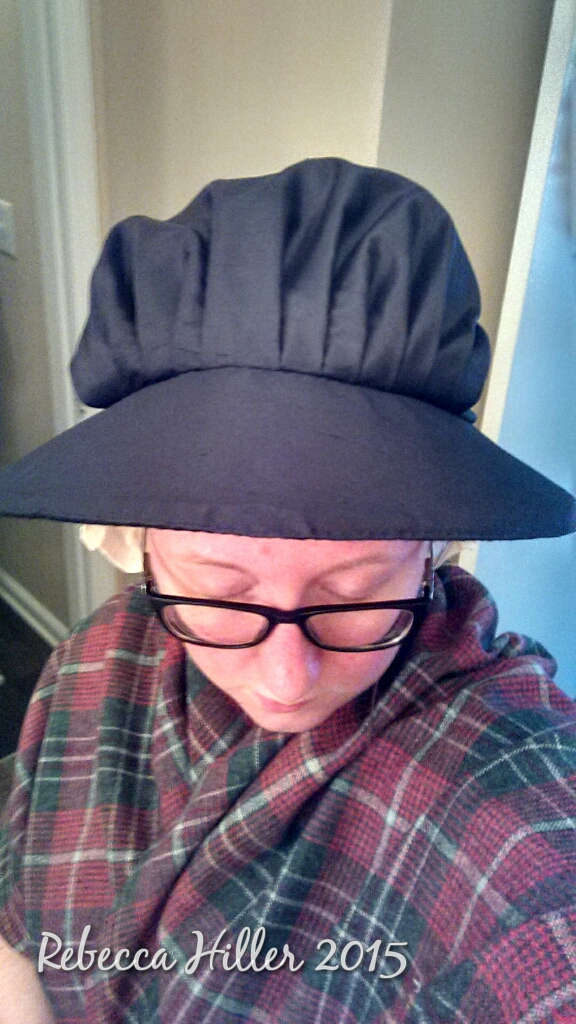
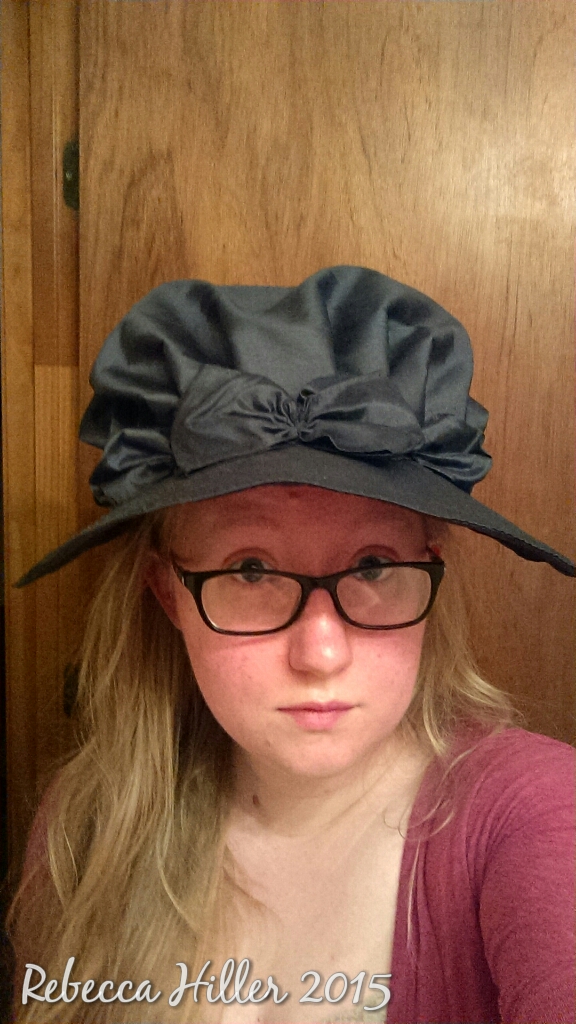
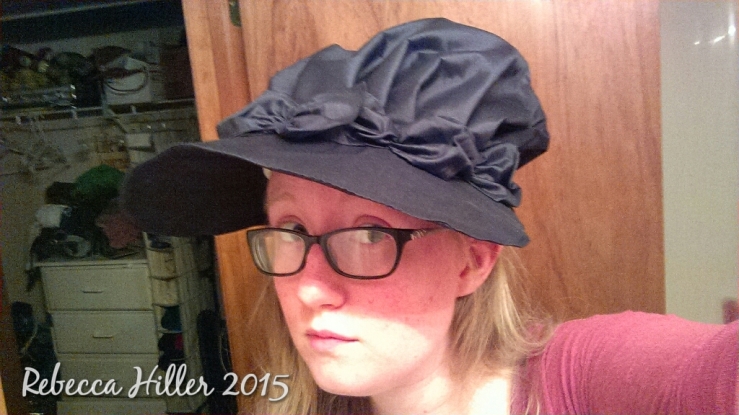
After finishing my first bonnet and making some mistakes on it, I decided to make another that fit better. I had an epiphany while on vacation that instead of messing around with patterns, I could use something I knew already fit me: a sun hat.
My grandma gave me an old hat to salvage the brim, and I slightly enlarged a standard cap pattern I have to form the top part/bag.
image
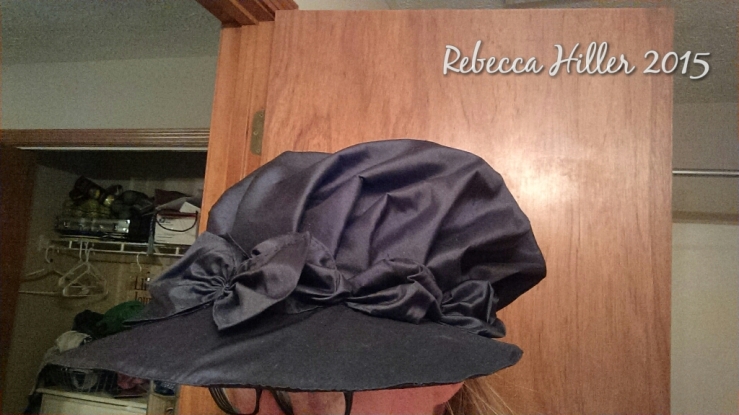
The finished bonnet! I decorated it with self-fabric poufs. Since it is smaller, it works better for the 1770’s and working class 1780’s personas.
image
This is what the bonnet looks like over a cap. In my opinion, bonnets like this look better with caps that have more fullness around the ear or neck, such as round-eared or lappet caps. This cap does not represent my current skill level and is sewn with inaccurate techniques, so I will be making more caps to replace it soon.
image
This is what the area where the bag and brim join looks like before trimming. It is pleated with most of the fullness in the front. Unlike my first go around, I left the bonnet bag unlined, which gave me the desired result.
image
This picture makes it look like a baseball cap, but you can see just how much smaller I ended up making the top. You can also see how it is necessary to end the pleats before about the ear or so, or else the drawstring will pull them over in a weird way.

I have worn this bonnet probably 4 or 5 times since I made it. The black silk does retain heat, but it is breathable. I am really pleased with how it looks, and the solid brim stands up to a bit of manhandling without giving up its shape.

Have you made a bonnet recently? What did you learn from the experience? Comment below and let me know!

Rebecca

18th Century Market Bonnet Pattern Review

Maggie from Serendipitous Stitchery’s 18th Century Market Bonnet Pattern has been making the rounds lately (you can buy it here), and I thought I’d share how my version turned out.

To start out, the pattern is very well put together, with lots of information and good instructions!  It helped soooo much, because bonnet making was pretty much a mystery to me before this.

image

Here is how the bonnet turned out!  It’s so big!! There were a few ways that my version differed from Maggie’s instructions (I learned my lesson there!! Stick to her instructions!)

image

First of all, I lined the cap portion of the bonnet, which I hoped would make it a bit cooler, and if any sweat happened to get in the bonnet, it wouldn’t ruin the silk.  However, this weighed down the silk, which now wants to collapse towards the back of my head (I kind of think it looks like an octopus sitting up there!).  Leaving the silk unlined in my second bonnet helped with this a lot.  (I was jealous of the nice volume everybody else was getting in their bonnets!)

image

The second way I deviated from the instructions was to use a double layer of buckram for the brim, instead of chipboard, like she recommends.  Even though I wired it, the buckram doesn’t have enough stiffness and wants to straighten out, which makes the brim flatten out and look odd.  Using chipboard is definitely preferable, because it is thicker and can be shaped like you want it.

I don’t think I will be wearing this bonnet much, as I made another one where I corrected the problems I had.  But it is a great pattern, and many other costumers have made great versions of it.  Hopefully you can learn from my mistakes!

Have you made a bonnet from this pattern?  Comment or share a picture below, and let me know how it went for you!

Rebecca